As a treat for flying through the recent MOT, I once again searched online for a leather interior to complete this ongoing upgrade. Thanks to E-bay, I managed to source a set of leather electric seats that where only 15 mile away for £200.
I have been looking around e-bay (and other sources) for Discovery interior's off and on for a long time. I already have all the switches, switch panels and wiring looms that I will need for the conversion.
Complete interiors for sale regularly appear on E-bay. Prices and conditions vary considerably, as do their locations. The added costs of postage and the prospect of damage in transit made me decide a local sale was the best option as I would prefer to collect in person.
Well, it all came together last week. I now own a set of heated electric black leather seats complete with armrests. They are in a good general condition and came from a 53 reg vehicle so are younger then Hx.
It should be possible to test the function of all the electrics before fitting. It's also a good opportunity to study the circuitry and workings of the system as well as give the leather a good clean before installing them into Hx.
MORE RESEARCH AND LEARNING
Spent a few hours trawling through Rave studying all the info about the electric seats. There was so much info available that I ended up printing it all out and arranging it in a file for easy reference. This particularly helped when trying to trace the wiring path of individual components on the circuit whilst reading the written descriptions of each circuit.
First thing to learn was the identity and the location of all the electrical components mounted onto the seat frame. Everyone of the electrical connectors throughout the vehicle is identified by a (usually) unique number. Each side of the connector (male/female) is identified separately, the wires are colour coded and the terminal pin numbers are identified. There is also information about the 'gauge' or thickness of the wire and even the length of individual wires between the connections.
Having a print-out of the circuit and the connectors made the task easy and there was plenty of space to write notes 'in the margins'. It's a big mind-fuck to start with, but with a bit of study it all starts to make sense!
POWER SUPPLY TO THE SEATS
I was keen to understand how and where the electric seat components get their electrical power supply and whether the wiring loom in Hx, (being a manual-seat version) needs to be modified.
I am already aware that the Body Control Unit (BCU) will need to be 'switched' via the Nanocom in order to provide a switched BCU- Earth path that will effectively enable the whole circuit to function, but my main concern is with the wiring to and from the 5-pin brown connector under each seat.
brown male connector C0751.
Two views above showing the brown male 5-pin connector clip-mounted onto the underneath of the seat frame. The grey connector nearby is for all of the control switch functions. (see 'Td5 D2 Seats - Switch packs'). This brown male connector is identified on the schematics by the number C0751. The same number is used to identify this connector under both seats. Although the connector can house up to five terminals or 'pins', only four are used. The cable colour-codes, gauges and pin-outs on the actual connectors under the 'new' seats match the schematics. So things are on track.
Attention now turns to the matching brown connector that the C0751 connector will plug into. All D2 Discovery's will have a brown female 5-pin connector wired into the vehicle 'main harness' and it should be present underneath each front seat regardless of whether they are 'plugged in' or not.
Hx thankfully has those connectors in its harness. They are unused because Hx has non-heated manual seats. Studying the colours and pin-outs from the schematics confirms that they will match up with the connectors (C0751) on the new seats. Connectivity is improving!, but it's hardly 'plug-n-play'!
These two identical fitted harness connectors are allocated different numbers. C0255 for the 'left-hand' seat and C0253 for the 'right-hand' seat.
Each one has four wires connected, the colour codes vary slightly but the functions and circuit paths are identical. So what do these four wires do..?
Essentially, they supply the power and earth return paths to operate all the systems fitted to the seats.
Let's look at the LH Seat harness connector labelled 'C0255' in Rave's electrical library..
These images are taken from the Rave 'connector views' section of the electrical library. The last view represents a 'head-on' view into the connector. Rave labels the terminals as 'CAV' meaning 'cavity', but I prefer the term 'pin'..
The corresponding connector that plugs in here is C0751. All connector faces are a mirror image of their 'other half'. This arrangement ensures that all the pins match. I.e. Pin 1 on C0255 connects to Pin 1 on C0751. The colour coding of the cabling may change but it's function does not.
Pin 1 - The 12v supply direct from the LH seat heater switch on the centre console. This wire supplies the heating elements only.
Pin 2 - Common Earth return for the electric motors and the heater elements.
Pin 4 - Earth path from the power seat relay mounted on the seat frame to the Body Control Unit on board Hx. This connection governs the whole system and is why the BCU needs to be interrogated by a Nanocom/ Testbook device in order to program the BCU to 'earth' the relay and close its contacts to supply power (from Pin 5) onwards to the electric motors.
Pin 5 - The 12v supply to the Power Seat Relay mounted under the seat frame. From there it connects power to all the electric motors and pump via the 'satellite' fuse box (40amp) and the seat switch pack. It does NOT supply/power the heater elements.
NOTE: There is no wire/cable in pin/cav 3.
BENCH TESTING THE SEAT FUNCTIONS.
Feel it's important to test all the functions of each electric seat before mounting it into Hx. Armed with the above info, it becomes possible to work out how to 'bench-test' the electric seats by connecting an independent 12v supply to the relevant pins of the brown male connector (C0751) under each seat.
The Rave electrical library does not have an illustration of the face of C0751 so I had to draw one myself. I also noted the actual colours of the cabling as well as their 'gauge'. Thicker wires generally carry more current then thinner wire.
To supply the power I will use a small AC/DC transformer, but a spare 12v battery could be used (provided its fully charged). I already have a bunch of test leads with insulated spade connectors on their ends that allow me to safely connect to selected pins inside a connector. With a bit of luck I should be able to confirm that all the seat functions are working before I get to install the seats in Hx..
Connecting Pin 2 and 4 to the negative terminal of the battery or transformer creates a functioning Earth path that will replicate the onboard BCU switching.
Connecting a 12v supply to pin 5 will allow, via the fitted switch pack, all the electric motors and the lumbar pump to be operated.
Connecting a 12v supply to pin 1 will operate the heater elements. Bear in mind this circuit will be switched 'live' by contact. The heater elements draw a lot of current. Rave states the total consumption as 115 Watts. I assume that to be with both seat heaters activated.
I am now wondering if my little transformer can cope!? It only puts out 500mA max current which is not enough.
There is a 40 amp fuse that protects the electric seat motors and a separate 20 amp fuse that protects the seat heaters. That gives a rough indication of the current draw on those circuits.... a lot more then 500mA..!!
Well, the little transformer could barely move the back and forth motor and all the others just clicked away like a dead battery on a starter motor. Better to try with a spare 12v battery.
When I eventually got hold of a spare 12v battery and connected it up as above, everything worked perfectly, first time!
CLEANING /INSPECTING THE NEW SEATS
As I said before, the new seats are in a generally good condition. A thorough inspection however does throw up concerns. There is a scratch on the rear of the Right Hand seat and a little nick on the lower base of the larger 2/3 rear seat. The rear armrest contains a pull-out cup holder and I noticed a piece of the finishing trim has snapped off, but I was only able to confirm this by comparing it to the same piece of trim on Hx. I may have to do a bit a swapping.
The front drivers outboard seat bolster is a bit soft in terms of support but the leather cover is fine. This is the one area in any interior that gets all the wear from every time the driver gets in and out. Further investigation is needed. The drivers seat cushion currently in Hx is in the same condition. The passenger seat cushion is much more stronger and potentially could be swapped?
In the past I have cleaned accidental spills and obvious dirt patches from leather by using a damp cloth or a wet-wipe. Research online talks about specialised cleaners and conditioners and I quickly was drawn to the 'Dodo Supernatural' leather cleaner which seems to be highly recommended in the motoring press. In the meantime, I tackled some dried-on dirt with a wet-wipe and a clean micro-fibre cloth.
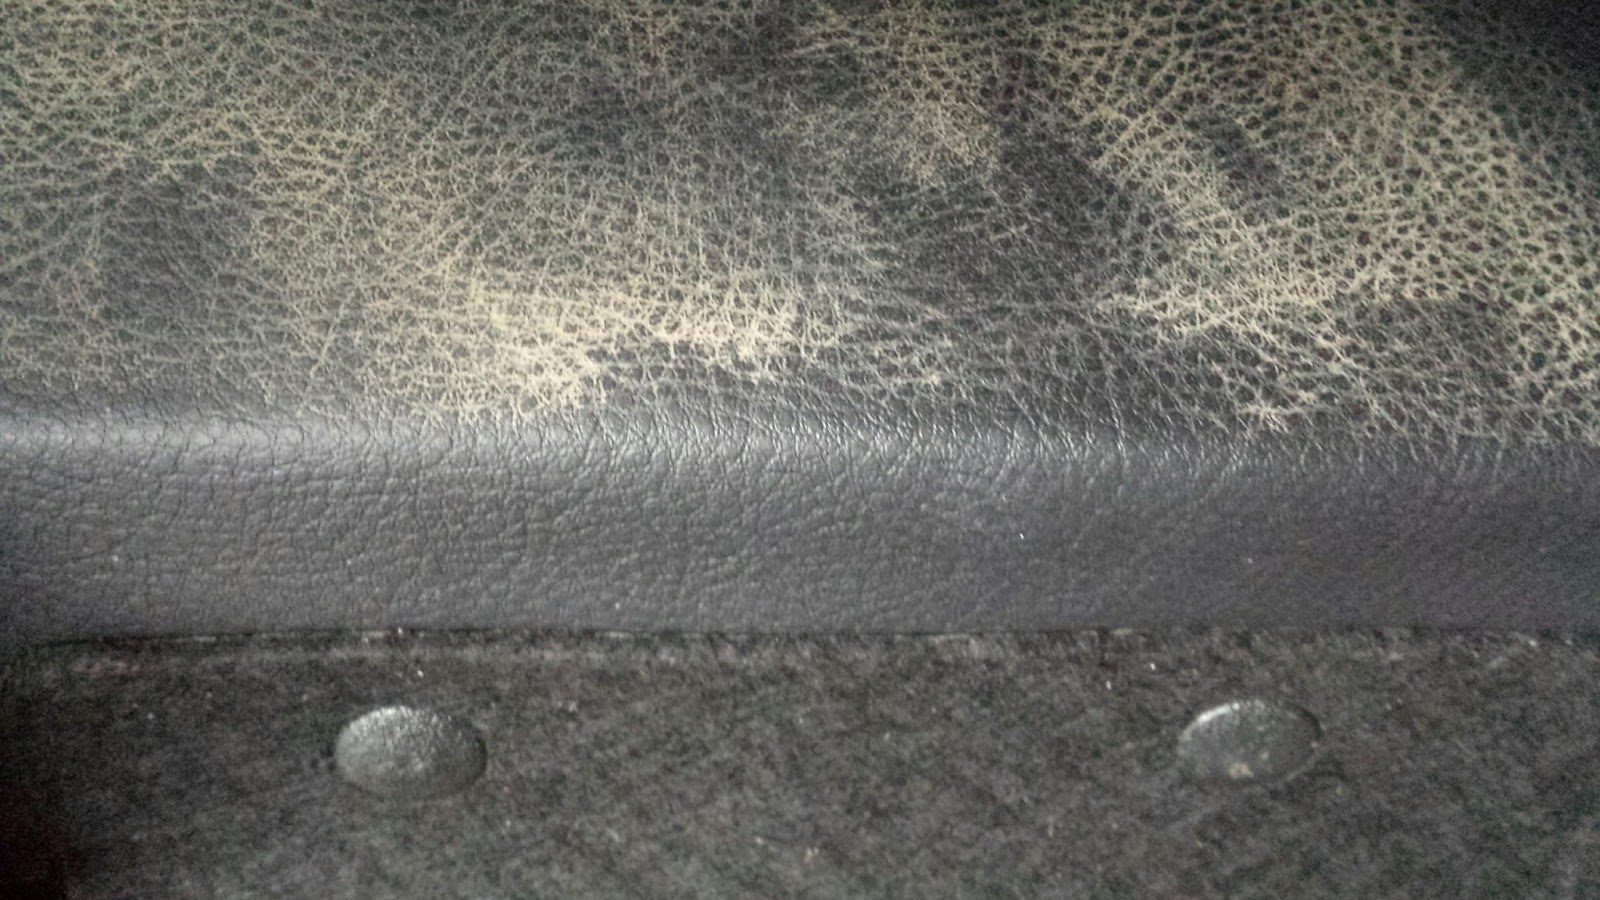
This is the lower face of the rear seat, where a muddy shoe heel could make contact. I used the wet-wipe on the lower lip section with great effect and it left no visible deposit on the surface. As an experiment, I used a wet-wipe on the apparently clean side panel of one of the rear head-rests just to see if any dirt would lift off. The worked panel did not look dirty at all yet the ingrained muck just lifted away. That was enough to convince me to get some Dodo cleaner to treat the rest of the seats.
Must admit, I was initially more concerned with cleaning the 'workings' of the seats by getting rid of the fluff and debre that had gathered on the exposed threads and components of the mechanisms.
Two photos showing the extent of the dirt and fluff under the seats.
.. tbc ..